Finally in this series on VCP-NV we get to doing some practical stuff with NSX – I’ve been looking forward to this part of the blueprint. So, we’ll drive straight in, beginning with deploying the NSX Manager appliance. There will be a follow up post on installing the remaining NSX components.
Preparing your Environment for NSX Installation
There are a few requirements for deploying NSX, documented here. Be aware of the resource requirements for the various NSX components, along with the network ports required for communication between NSX components, ESXi hosts and vCenter.
Deploying the NSX Manager Appliance
The NSX Controller is deployed from an .OVA file, which can be found here. As this is vSphere 5.5, I will deploy the OVA using the web client.
The first step is to Right-Click on the cluster to which you would like to deploy the NSX Manager appliance and choose ‘Deploy OVF Template‘. On the first page of the deployment wizard, browse to your NSX .ova:
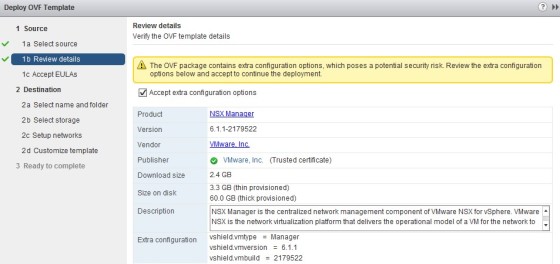
On the next screen, confirm that you accept the extra configuration options, by clicking the check box, then click next:
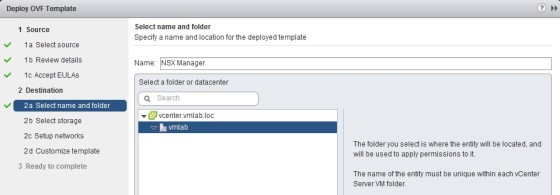
The following screen has the EULA which needs to be accepted before you can continue, then the next one allows you to specify where you want the appliance to be deployed to, along with specifying it’s name:
On the next screen, select the datastore where the appliance will be deployed to:
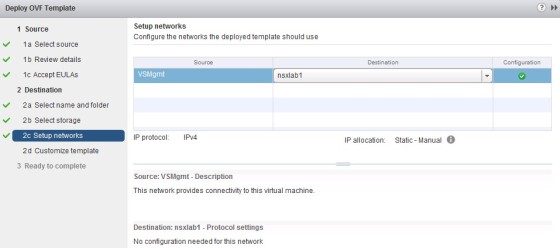
On the following screen, select the port group to which you want to attach the appliance:
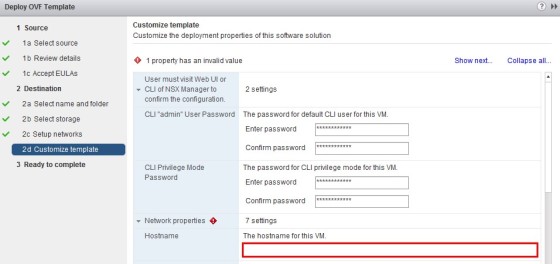
The following page is where you set a lot of the custom settings to be applied to the NSX Manager appliance, such as it’s hostname, passwords
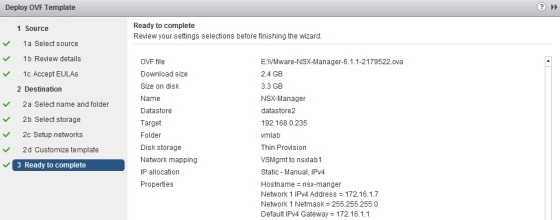
The final screen gives the opportunity to review your settings:
Once satisfied with the options chosen, click Finish to begin deploying the .OVA. Once the deployment task has completed, power on the newly created NSX Manager virtual machine.
Logging into NSX Manager
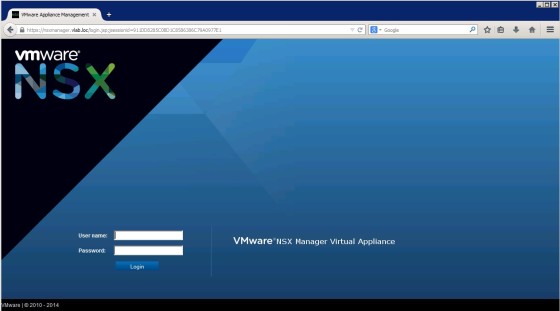
Once the VM has booted, you should be able to log into NSX Manager via it’s web interface.
Log in with username ‘admin’ and the password you set during deployment. Once logged in, you will be presented with a dashboard with a number of options:
Click ‘View Summary’ to get an overview of the server:
Clicking on the ‘Manage’ tab will allow you to configure additional settings on the appliance such as syslog, backups and NTP. It is also where you configure the appliance to connect to vCenter, which I will now do. First go to ‘NSX Management Service’:
Firstly we need to configure the Lookup Service. This needs to point to the address of your vCenter’s SSO service, which is generally vCenter itself. Use 7444 as the port number. Use the administrator@vsphere.local account.
Once done the “Lookup Service” Status should be “Connected”:
Next we need to connect NSX Manager to vCenter:
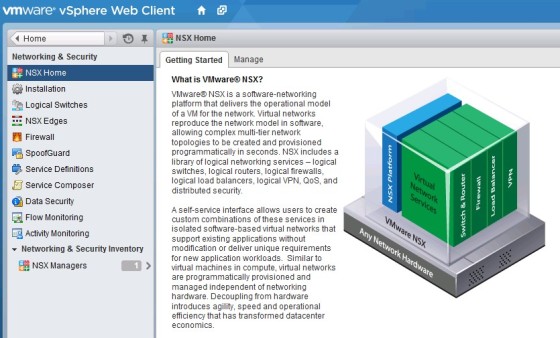
Once both the Lookup Service and vCenter are both showing as connected we can log off the NSX Manager web interface, and open the vSphere Web Client. There should now be a ‘Networking and Security’ option available on the home screen:
Clicking on the icon will take you to the NSX Home Screen:
At this point, the environment is ready for the additional NSX component installation, which I will cover in my next post.
Useful Links and Resources
https://pubs.vmware.com/NSX-6/topic/com.vmware.ICbase/PDF/nsx_6_install.pdf

