I finally got around to updating my home lab to vSphere 6.7, so thought I’d put together an article on the process of upgrading a 6.5 VCSA to the new version using the GUI. The upgrade is a two stage process. The first stage deploys a new vCenter Server Appliance, then the second stage transfers the services, FQDN and configuration data to the new appliance. Once the process completes, the old VCSA will be powered off.
Improved VCSA!
There’s a bunch of new features / enhancements with version 6.7. A lot of these are mentioned on this post from VMware. It’s worth noting the the 6.7 release is the last that includes vCenter for Windows, which has been depreciated.
Changes of note include:
- Architecture improvements – No load balancer requirement for vCenter HA, SSO site boundary removal
- Improved data migration when upgrading
- Improved VAMI – now includes monitoring, such as CPU, memory, network and database utilisation. Also now able to monitor storage partitions from VAMI.
- Improved HTML vSphere Client
VCSA 6.7 Appliance Sizes
As in previous versions, there are a number of options when choosing the size for the new VCSA appliance. These are:
[table id=5 /]
The Upgrade Process – Stage 1 – Deploying a new VCSA
Before upgrading in production – makes sure the usual compatibility checks are carried out. Check the official documentation for any upgrade pre-requisites. Ensure you have a backup of your current VCSA of course!
To get started, mount the VCSA ISO and browse to the \vcsa-ui-installer\win32\ folder and open installer.exe. Select Upgrade:
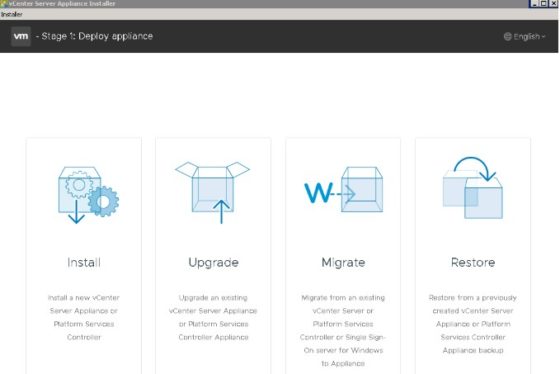
Click through the first two screens, the first of which explains the process, then it’s the EULA which will need to be accepted to continue. The third page covers connecting to the source vCenter appliance:
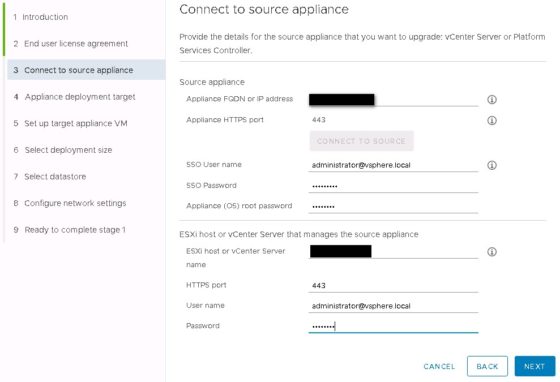
Enter the details for the source appliance and the details for the vCenter server or ESXi host that manages the existing vCenter virtual machine.
On the next page, enter the target vCenter. This is where the new 6.7 appliance will be deployed.
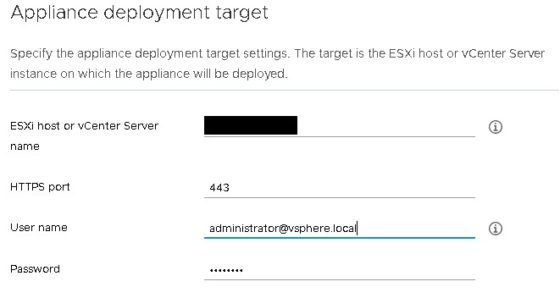
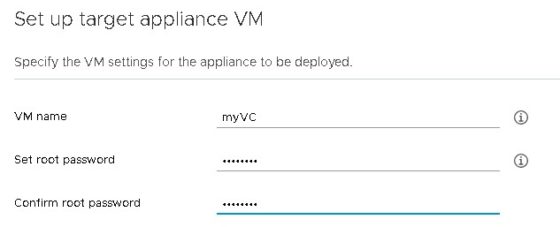
The following pages cover choosing which folder to place the new VCSA in, and selecting the ESXi server on which it will run initially. Next, set the VM name (in vCenter) and the root credentials for the new appliance:
Next, set the deployment size for the new VCSA:
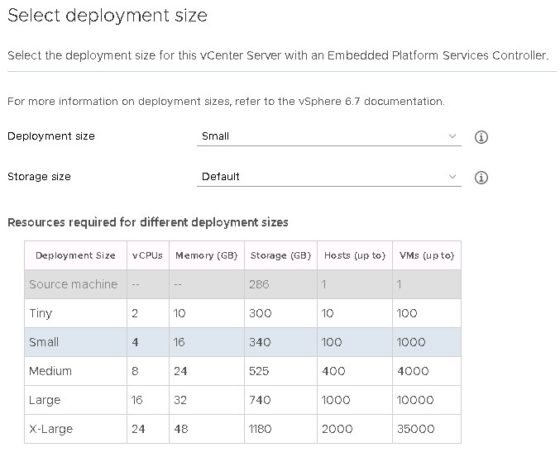
On the next two pages, select the datastore to which the new appliance will be deployed, and then the temporary network settings that the new appliance will use until the configuration from the existing VCSA is transferred over. Finally, review the chosen deployment settings, then click Finish to begin deploying the new appliance.
Once the process is complete, you should see the following:
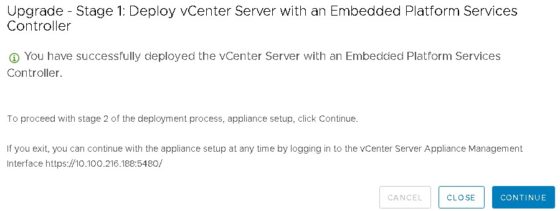
Click continue to move onto stage two.
The Upgrade Process – Stage 2 – Configuration
As mentioned earlier, the second stage of the upgrade process is to transfer configuration (and data) to the new appliance. You will be given the choice of what you want to transfer over:
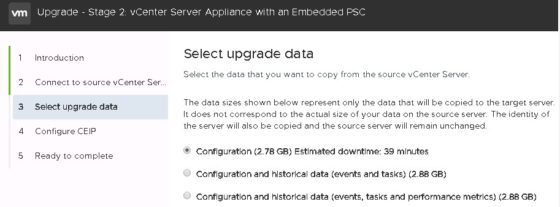
The options here are to migrate:
- Configuration
- Configuration and Historical data (events and tasks)
- Configuration and Historical data (events, tasks and performance metrics)
Once the choice has been made, click next. The following page gives the opportunity to opt in or out of CEIP, followed by the final page, which details all the configuration options chosen:
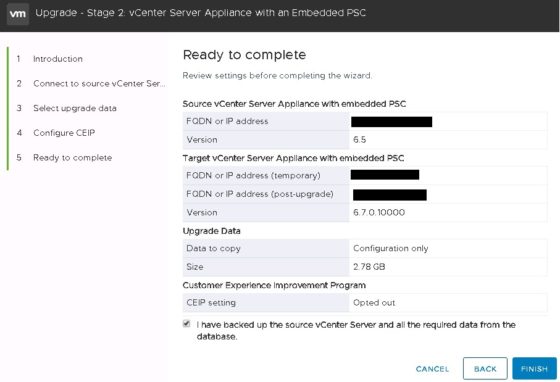
Before you can click ‘Finish’, you will need to confirm that you have a back up of the source vCenter and all the required data from the database. Next, you will see a notification stating that the source vCenter will be shut down once the network configuration is enabled on the new vCenter server. Click OK to continue, then the transfer process will begin:
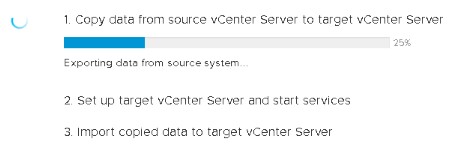
Once complete, you will have a new VCSA, accessible from the same FQDN as the original. Log on and check all looks good!!