I wanted to have a look at the latest build of Citrix XenServer – so thought I’d do a post on the upgrade process. I’m currently running XenServer 6.0.2, and have two hosts configured in a Resource Pool:
Looking at the XenServer 6.5 Installation Guide (page 24), it states that a direct upgrade from 6.0.2 is supported:
Versions earlier than 6.0 require an upgrade to XenServer 6.2 before they can be upgrade to XenServer 6.5. It may be preferred to do a clean installation rather than upgrading, but I will be using the rolling pool upgrade method. A rolling pool upgrade will allow me to keep virtual machines running throughout, as my VMs will be migrated between hosts automatically as part of the process, with one host being upgraded at a time.
There are a few recommendations before you begin upgrading. First of all you should install the latest version of XenCenter (this can be found on the XenServer 6.5 iso). You should also ensure you have a backup of your resource pool metadata. You can do this with the following console command:
xe pool-dump-database
Check that your resource pool isn’t over-provisioned and can withstand one host being placed into maintenance mode. High availability should be disabled for the pool before starting.
XenServer Rolling Pool Upgrade
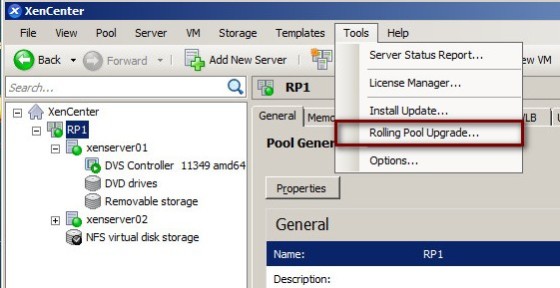
To begin the process, select the resource pool in XenCenter, then on the Tools menu, select ‘Rolling Pool Upgrade’:
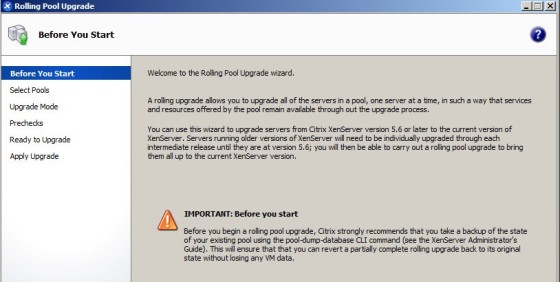
The Rolling Pool Upgrade page will appear, to guide you though the upgrade process:
There’s a reminder here to ensure you have a backup of the pool data before you start. On the next screen, select the resource pool that is to be upgraded:
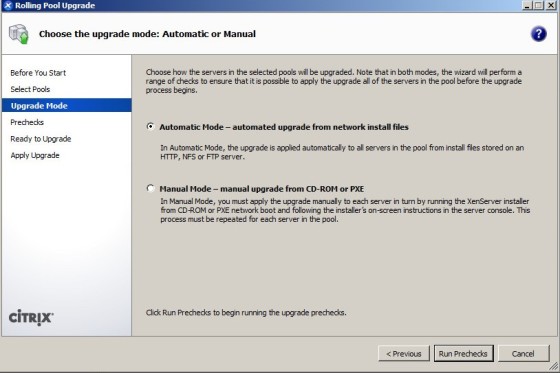
On the following screen you select the upgrade method:
There are two modes – Automatic or Manual. In automatic mode the upgrade is applied from the installation files (extracted from the XenServer 6.5 ISO) stored in a shared location. If manual mode is chosen then each host must be upgraded interactively. Once the mode is selected, automatic in this case, click the ‘Run Prechecks’ button:
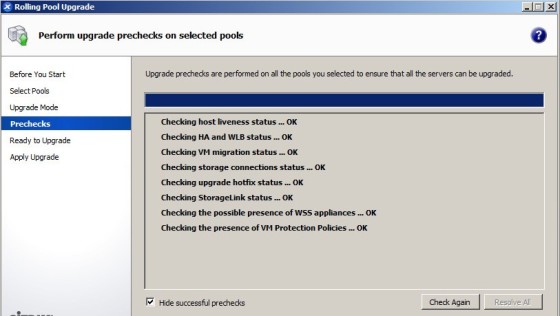
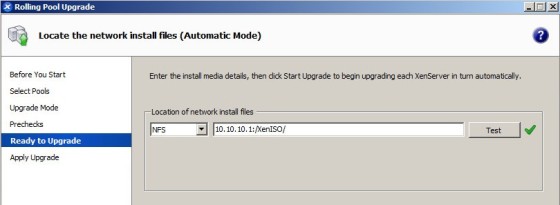
Once the pre-checks have ran successfully, move onto the next screen, which is where you specify the location of the installation files:
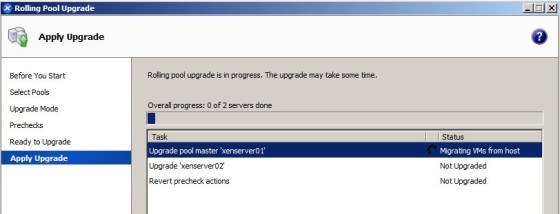
I have placed them on an NFS share that my XenServer hosts have access to. Click the test button to ensure the files can be located. Once done, click the ‘Apply Upgrade’ button to begin the upgrade process. Depending on the size of the resource pool, the process will take some time. Progress is reported on throughout:
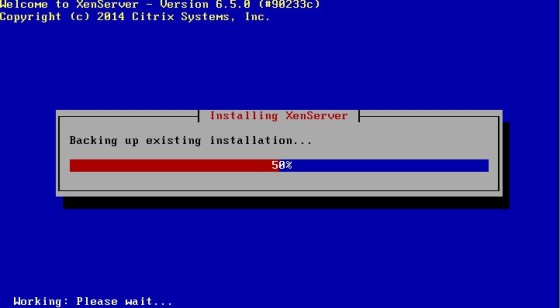
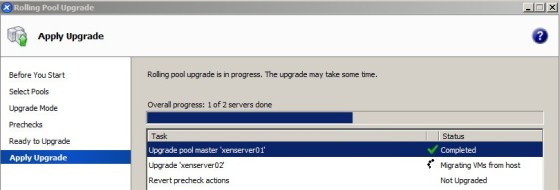
The resource pool master will be upgraded first. Whilst this is being done the pool will not be accessible, though the virtual machines will continue to run. You can also monitor the progress on the servers console:
Once the resource pool master has been upgraded, the pool will be accessible again:
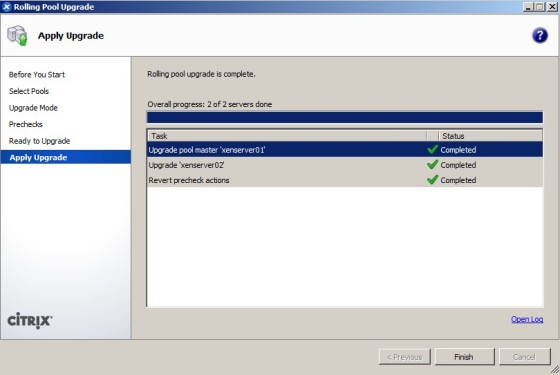
Click finish once the process is complete:
Note the ‘open log’ link – which leads to the install log location, which can be reviewed in case of any issues. And that’s it – a fairly straight forward process – note that this was in a test environment however, with a small number of active virtual machines – as always, be sure to do your own testing before attempting in production!


