Scheduling Azure Automation runbooks using the Azure Portal can be time consuming, and more than a little tedious! In this article I will show you how you can create your Azure Automation runbook schedules using PowerShell.
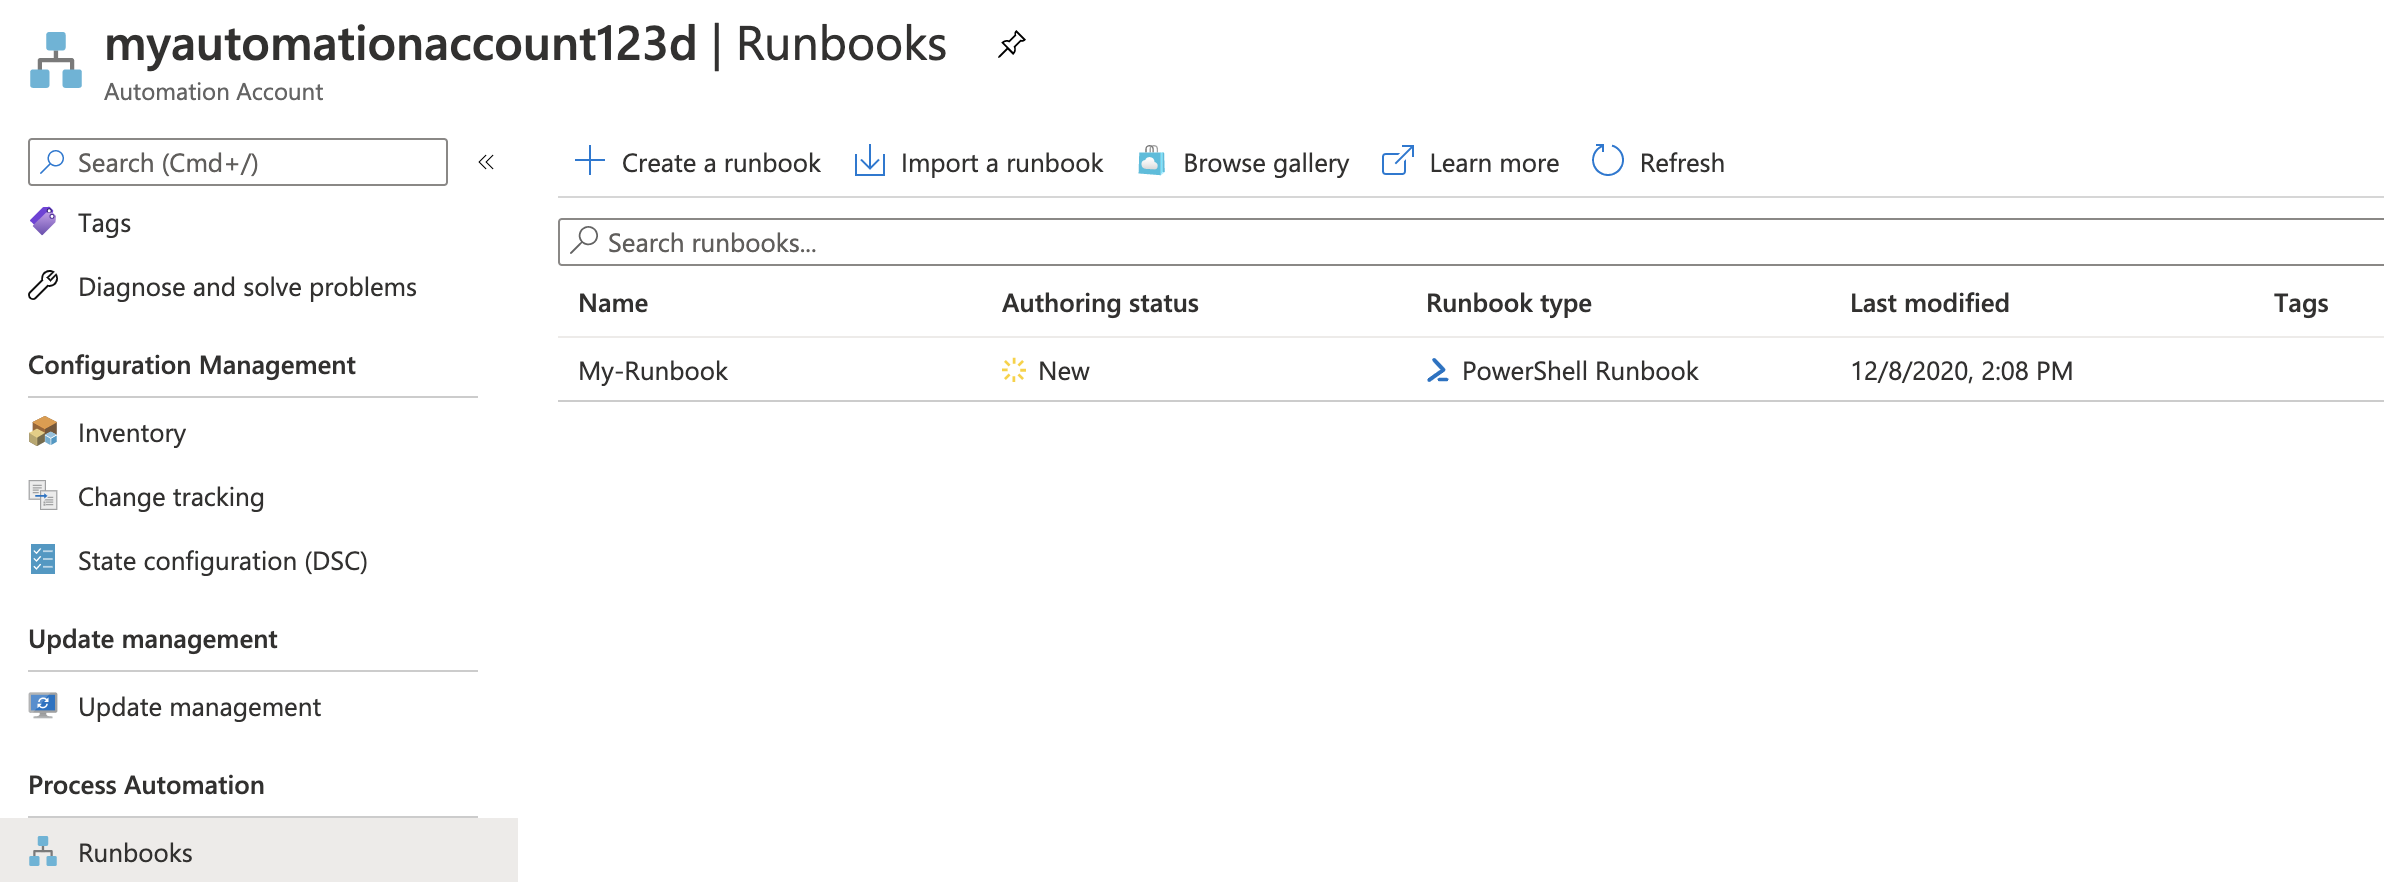
I’ve written previously about how to create and schedule an Azure Automation runbook. This article assumes you already have an automation account set up, with a working runbook that you need to schedule. In my environment I have the following runbook set up:

There are two steps required to schedule the runbook using PowerShell. First of all we need to create a schedule, then we need to link the runbook to the schedule. To create a schedule which will run the runbook once we could use:
$TimeZone = ([System.TimeZoneInfo]::Local).Id
New-AzAutomationSchedule -AutomationAccountName "MyAutomationAccount" -Name "MySchedule" -StartTime "23:00" -OneTime -ResourceGroupName "MyResourceGroup" -TimeZone $TimeZone
This will create a schedule that will run once at 23:00 hours, on the day the schedule is created. When you run the command the output will give you confirmation of this:
StartTime              : 12/8/2020 11:00:00 PM +00:00
ExpiryTime             : 12/8/2020 11:00:00 PM +00:00
IsEnabled              : True
NextRun                : 12/8/2020 11:00:00 PM +00:00
Interval               :
Frequency              : Onetime
MonthlyScheduleOptions :
WeeklyScheduleOptions  :
TimeZone               : Etc/UTC
Next, we need to attach the runbook to the new schedule. To do so we can use:
Register-AzureRmAutomationScheduledRunbook -Name My-Runbook -ResourceGroupName MyResourceGroup -AutomationAccountName MyAutomationAccount -ScheduleName "MySchedule"Once done, the schedule will be visible under the schedules pane of the runbook configuration:

Create a Recurring Daily Schedule
Now, a one time schedule as detailed above isn’t particularly useful. Instead we can create a recurring schedule. For example:
$StartTime = Get-Date "19:00:00"
New-AzAutomationSchedule -AutomationAccountName "MyAutomationAccount" -Name "MySchedule" -StartTime $StartTime -DayInterval 1 -ResourceGroupName "MyResourceGroup"
This will result in the following output:
StartTime              : 12/8/2020 11:00:00 PM +00:00
ExpiryTime             : 12/31/9999 11:59:00 PM +00:00
IsEnabled              : True
NextRun                : 12/8/2020 11:00:00 PM +00:00
Interval               : 1
Frequency              : Day
MonthlyScheduleOptions :
WeeklyScheduleOptions  :
TimeZone               : UTC
Create a Recurring Weekly Schedule
To have a schedule run once a week at 17:00 on the day it’s created we could use:
$StartTime = (Get-Date "17:00:00")
New-AzAutomationSchedule -AutomationAccountName $AutomationaccountName -Name "MySchedule3" -StartTime $StartTime -WeekInterval 1 -ResourceGroupName $resourcegroup
Note there are lots of other possibilities with schedules – you can choose specific times and dates, whether to run on weekdays or weekends, recur yearly and so on. There are more examples in the documentation here.
Listing all your Schedules
You can list all the schedules for a given Automation account using:
Get-AzAutomationSchedule -AutomationAccountName $AutomationaccountName -ResourceGroupName $resourcegroupThe output will list the configuration for each schedule:
StartTime              : 12/9/2020 5:00:00 PM +00:00
ExpiryTime             : 12/31/9999 11:59:00 PM +00:00
IsEnabled              : True
NextRun                : 12/9/2020 5:00:00 PM +00:00
Interval               : 1
Frequency              : Week
MonthlyScheduleOptions :
WeeklyScheduleOptions  :
TimeZone               : UTC
ResourceGroupName      :
AutomationAccountName  : my-automation-account-12832
Name                   : MySchedule3
CreationTime           : 12/9/2020 9:22:13 AM +00:00
LastModifiedTime       : 12/9/2020 9:22:13 AM +00:00
Disable a Schedule
To disable a schedule you can use the following:
Set-AzAutomationSchedule -AutomationAccountName $AutomationaccountName -Name "MySchedule3" -ResourceGroupName $resourcegroup -IsEnabled $falseYou can enable it again easily by setting the -IsEnabled flag to $true.
Delete a Schedule
You can also delete schedules. Before doing so it’s worth checking to see if any runbooks are configured to use it. To do so:
Get-AzureRmAutomationScheduledRunbook -ResourceGroupName $ResourceGroup -AutomationAccountName $AutomationaccountName The output will list your runbooks and their settings. For example:
ResourceGroupName     :
RunOn                 :
AutomationAccountName : my-automation-account-12832
JobScheduleId         : ad3d2d9c-23f0-444f-a270-c69f90f47f5f
RunbookName           : My-Runbook
ScheduleName          : MySchedule
Parameters            : {}
HybridWorker          :
We can see from the output that the schedule named ‘MySchedule’ is being used by a runbook.
To delete a schedule we can use:
Remove-AzAutomationSchedule -AutomationAccountName $AutomationaccountName -Name "MySchedule3" -ResourceGroupName $resourcegroupFinal Word
In this article you have learned how to create Azure Automation schedules and associate them with runbooks using PowerShell. We have given some examples on how to create different schedules, and shown how to disable and delete schedules. Remember to check out the official documentation on Azure Automation schedules for more detail!