This is a quick post to cover the deployment of vRealize Operations Manager 6 appliance. There are a number of changes introduced in this version, so I wanted to take a look at it in my lab. If you have installed previous versions, you’ll notice there are changes to the initial installation and configuration. The architecture has changed somewhat, with there now being a single virtual machine deployed when using the appliance, rather than the two separate UI and Analytics VMs that were used previously. Alternatively, vRealize Operations Manager can be installed on a Windows server.
As described in the release notes there are many new features/enhancements – these include:
- Scale-Out Deployment Architecture – This release provides distributed deployment with elastic scale and higher scalability.
- Unified User Interface – This release introduces a single user interface to manage vSphere as well as non vSphere domains. You can create powerful, flexible custom dashboards enabling you to bring any information you want into the management console.
- Smart Alert – Smart alerts combine multiple symptoms to generate a single alert that focuses on the underlying issue with clear recommendations and option to take action for remediation.
- Enhanced Reporting – Enhanced reporting provides several out-of-the-box reports with the ability to generate fully customizable reports.
- Capacity Planning and Project Management Capabilities – New capacity planning and project management capabilities extend beyond vSphere and across physical and application level metrics. Flexible capacity models can be adjusted to meet different business needs.
- Unified Storage Visibility – New storage visibility shows the correlation between the application group and the storage infrastructure supporting it, including HBA’s, Fabric and Arrays, along with the ability to trace operational issues all the way to storage.
SOURCE – vmware.com
In this post I’ll look at how to deploy the appliance. In a later post I’ll then cover the initial set up tasks followed by some of the scale-out architecture that has been added in this version, giving improved performance and availability.
Deploying vRealize Operations Manager
Here we’re concentrating on the appliance version of vRealize Operations Manager. The initial deployment steps are similar to any other virtual appliance. Start by running the Deploy OVF Template Wizard in vCenter. The first step, as always, is to select the installation source:
The details screen displays the storage requirements. The template creates the appliance with a 1.4 GB thin provisioned disk and a 266 GB thick provisioned disk:
The next screen covers the EULA, then you choose a name for the virtual machine and its location in vCenter:
The following screen lets you configure a deployment size. In my lab, I have selected ‘Small’, which is suitable for use for environments with less than 2000 VMs. This setting determines the virtual resources that will be allocated to the applicance. In this case, 4 vCPUs and 16 GB memory is allocated:
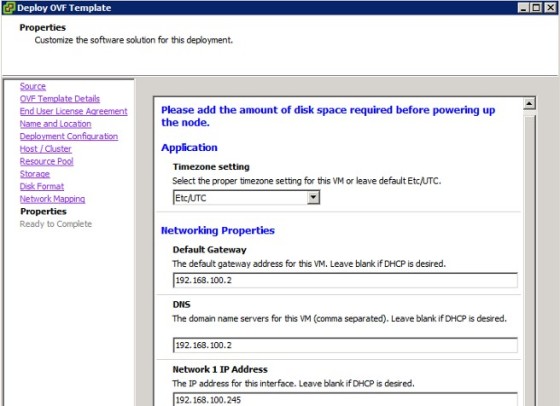
The following two screens cover which host/cluster the appliance will be deployed to, following which the properties page is displayed, where details such as the IP address and DNS settings can be configured:
Finally, there is a summary screen where you can review the settings, before clicking Finish, after which the deployment process will begin. Once the task finishes, the appliance should start up automatically if the ‘power on after deployment’ option was set, otherwise power it on manually:
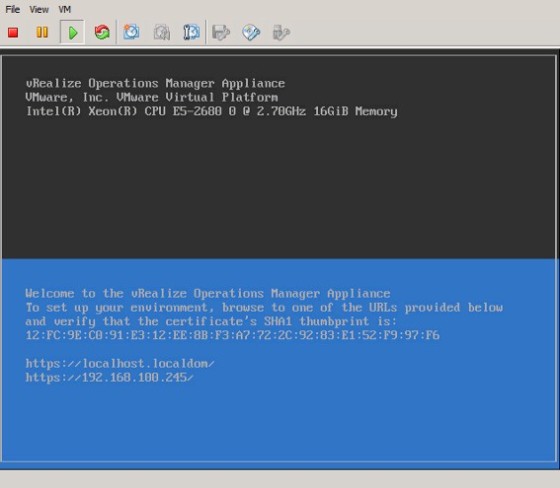
The console should display the IP address configured earlier, and will direct you to a URL from where you can start configuring the appliance:
I’ll have a look at setting up vRealize Operations Manager in my next post.


