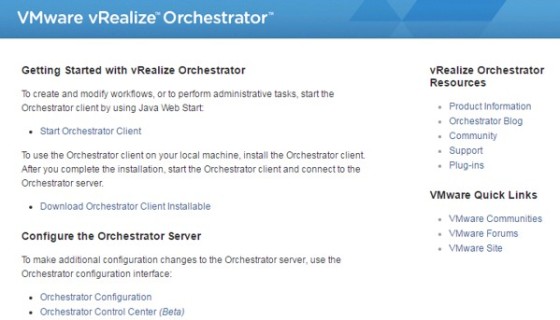
This post follows on from my previous one, where I covered deploying the vRO appliance, along with some initial configuration tasks. Picking up where I left off, the next task is to head back to the vRO appliance’s homepage (https://vRO-FQDN:8281), which is where the vRO client can be downloaded from:
The client runs on Windows, and is required to interact with vRO and run the workflows that we need to run to complete the integration with vRA. Once the installer package has been downloaded, run through the install wizard which is straightforward and will only take a couple of minutes.
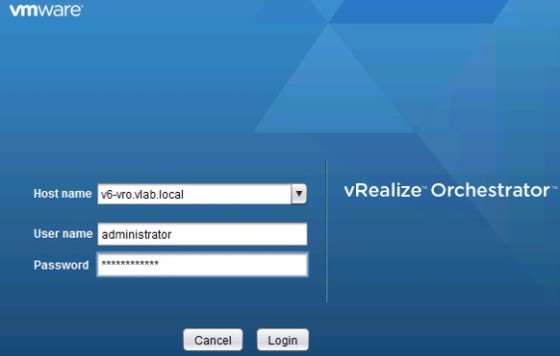
Once installed, launch the client – you’ll be presented with a logon screen:
Once logged in, we can start running some workflows to configure vRO to connect to a vCenter and to vRA.
Adding a vCenter Instance to vRO
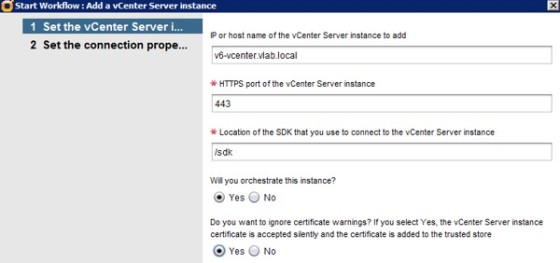
The first work flow I will run is to add a vCenter Server instance to vRO. To do so, expand the vCenter | Configuration folder in the workflow list, then select ‘Add a vCenter Server Instance’:
Click the green ‘play’ button to run the workflow:
After setting the authentication options, the work flow will run through, and we should end up with vCenter connected to vRO:
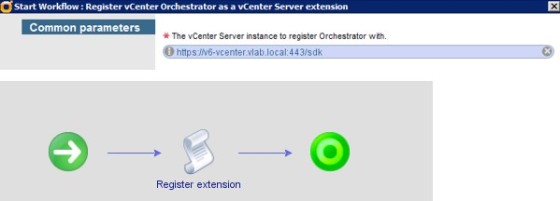
With that completed successfully, we now want to register vRO as a vCenter Server extension which will enable vRO workflows to be available through the vSphere Web Client. On the workflows tab, go to vCenter | Configuration, then run the ‘Register vCenter Orchestrator as a vCenter Server Extension’ workflow. The only parameter the workflow needs to the vCenter Server that we want to register orchestrator with (which should be the one configured in the previous step):
That’s it for the vCenter Server integration. Next we want to run a workflow to enable vRO to work with Active Directory.
Configuring the vRO Active Directory Plugin
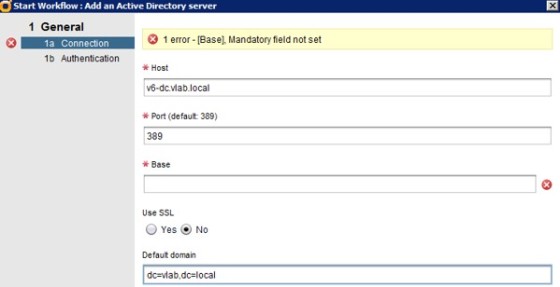
To do so, browse to Microsoft | Configuration | Configure Active Directory Server in the workflow library, and run the ‘Configure Active Directory server’ workflow:
Configure the requested parameters, which include specifying the AD server and port, and the base DSN. Once done we can move onto configuring the vRA plugin.
Configuring the vRA Orchestrator Plugin
There are a few steps to go though in order to get vRA and vRO to work together. First of all we need to import the vRA SSL certificate. There’s a workflow available to do this which can be found under Configuration | SSL Trust Manager in the workflow library. Provide the workflow with the URL for the vRA appliance, and click submit to run the workflow:
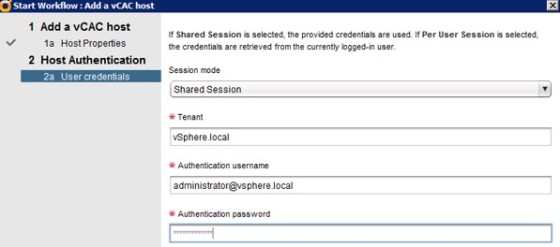
With the vRA certificate imported into vRO, we can move onto adding the vRA host by running the ‘Add a vCAC Host’ workflow, which can be found in vCAC | Configuration:
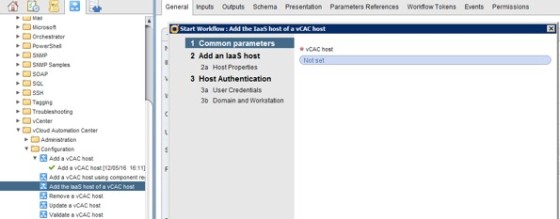
Once that has ran successfully, we need to run the ‘Add the IaaS hot of a vCAC host’ workflow, which can be found in the same folder. We just need to give the workflow the vCAC host parameter to start with:
Then, on the next pages, enter the details for the IaaS host, along with the credentials to connect with. Click ‘Submit’ to run the workflow, then verify that it runs successfully.
With our vRA host and IaaS added to vRO, we now need to run the ‘Install vCO Customization’ workflow. Running this will update the vRealize Automation workflows with an activity to call vRealize Orchestrator workflow stubs. The workflow can be found under vCloud Automation Center->Infrastructure Administration->Extensibility->Installation->Install VCO Customisation. With that workflow successfully run, we should have configured all the plugins necessary for vRA vRO integration.
Configuring a Tenant to use the external vRO Instance
Now we have configured vRO, we need to go back to vRA and configure a tenant to make use of it. To add vRO to a tenant, log into vRA as the tenant administrator then go to the Administration tab, then click on ‘Orchestrator Configuration’. Select ‘Use an external Orchestrator server’, then enter the details of the vRO host:
Once the connection and account details have been entered you can use the ‘Test Connection’ button to ensure vRA is connecting to Orchestrator successfully.
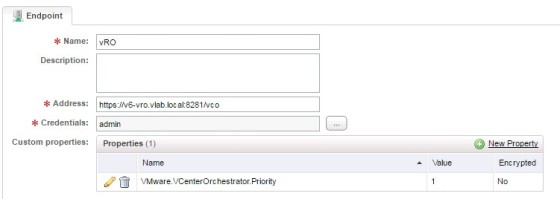
Finally, we need to add orchestrator as an endpoint in vRA. This is required for IaaS triggered workflows. To do so, log into vRA as an IaaS admin for the tenant, then go to the Infrastructure tab, then click on the ‘Endpoints’ menu item. Once there, select New Endpoint then select vCenter Orchestrator:
In the new window, enter the necessary information to connect to the vRO server:
vRealize Orchestrator should now be configured and integrated with vRealize Automation!
