There are many different solutions around for running virtual machines on your desktop computer. Software such as VMware Workstation or VirtualBox is great at the job. If you are using a Linux OS there is also another option – KVM.
With KVM you can run multiple virtual machines running either Linux or Windows. In this post I’ll walk through setting up KVM on an Ubuntu machine and then create an Ubuntu virtual machine running under KVM.
KVM will only work on hardware that supports hardware virtualisation. To check if your hardware supports either Intel VT-x or AMD-V you can run the following command:
egrep -c ‘(svm|vmx)’ /proc/cpuinfo
If the resultant output is 1 or greater then your hardware supports hardware virtualisation and you can proceed to install KVM. The output when I run the command is as follows:
Installing KVM on Ubuntu
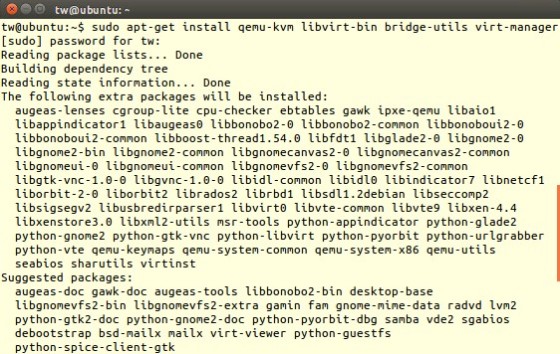
The following command can be used to install KVM and associated packages:
sudo apt-get install qemu-kvm libvirt-bin bridge-utils virt-manager
Once the packages have installed, you should add you user account to the libvertd group. This is necessary because only the root user and members of the libvertd group are able to create virtual machines. Add your user(s) to the group using the following command:
sudo adduser username libvirtd
If your user is already a member of the group you will see the following:
Creating an Ubuntu Virtual Machine
We installed Virt-Manager earlier, which is a GUI for KVM. It can be launched from the Ubuntu launcher:
Once run, the Virtual Machine Manager window should open. Click the New VM button to begin creating a new virtual machine:
The new VM window will open; the first step is to give the new VM a name and select how the Guest OS will be installed:
On the next screen, select the install media, and define the guest OS type and version:
On the next screen, select the memory and vCPU allocations for the new virtual machine:
The following screen allows you to configure the storage options for the new Ubuntu virtual machine. In my example, I’ve chosen to leave the default size at 8GB, and have chosen not to allocate all space now, which will ‘thin provision’ the virtual machine’s disk.
A summary of the chosen configuration and a number of advanced options are available on the final setup screen. Click ‘Finish’ when ready, to create the new VM:
The new Ubuntu virtual machine will power on immediately and the guest OS install process will begin automatically.


