If you have been following my series on installing XenDesktop 7.5, you’ll have seen that we have deployed a XenDesktop site, created a machine catalog and configured StoreFront. The next step is to create delivery groups, membership of which allows a user to access XenDesktop resources such as a virtual desktop. Delivery groups are created in the ‘Delivery Groups’ section of Citrix Studio:
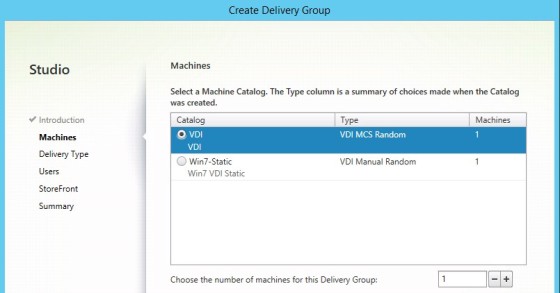
Click ‘Create Delivery Group’ to open a series of screens to guide you through the delivery group creation process. On the first screen you are asked which machine catalog the new delivery group will use:
Note that there is an option to select the number of machines from the catalog that you wish to use. You don’t have to use a whole machine catalog for a delivery group. The next screen asks for the delivery type to be used. The options are ‘Applications’ or ‘Desktops’. In this example I want to present a VDI desktop to the users so will be choosing ‘Desktops’:
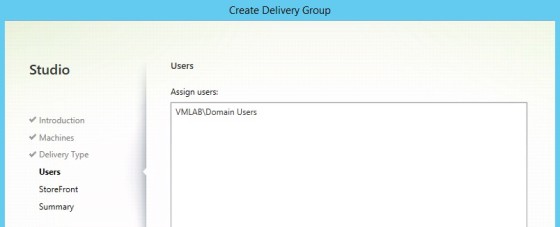
The next screen is where you determine which users belong to this delivery group. In my test lab I have just used ‘Domain Users’, though in a production environment there will be dedicated AD groups for this purpose:
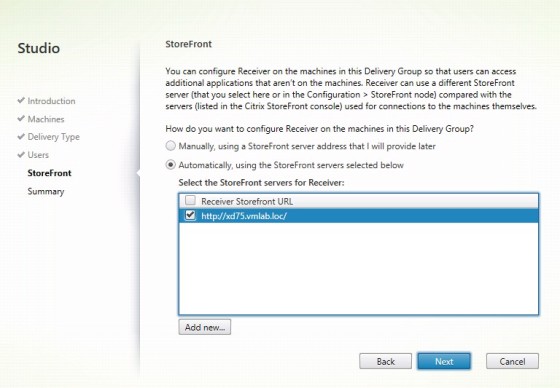
On the next screen you can have the delivery group configure the Citrix Receiver on the machines in scope to point to a StoreFront server:
The final window shows a summary of the delivery group settings, prompts you to give the delivery group a name and description:
The last thing to do is click the Finish button, the delivery group will then be created. You should then see your delivery group listed in the console:
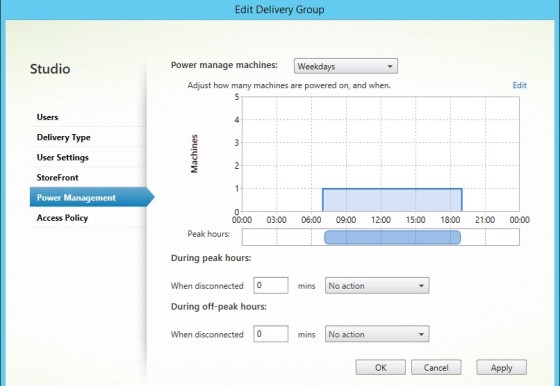
If you want to edit the group after creation you can do so by right clicking on the group. A couple of additional settings are exposed here that weren’t available whilst creating the group. These are the Power Management settings and the Access Policy. The power management settings for example allow you to configure how many desktops you want to have powered on at a particular time of the day:
So, at this point my lab has a XenDesktop site configured, a machine catalog and delivery group, and StoreFront. I can now verify it all works by using a browser to connect to the StoreFront site, and logging in with a domain account:
After logging in, I can see the delivery group:
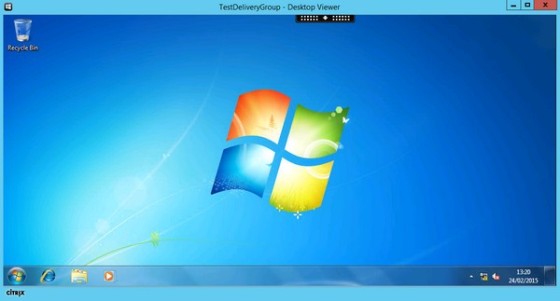
Clicking on the icon will launch a connection to the VDI desktop (which is in a pooled machine catalog, associated with the delivery group):
Using Citrix Receiver to Access Resources
Instead of using StoreFront through a web browser, you can also use the installed Citrix Receiver application. Once installed, it should be present in the taskbar. Double clicking on the icon will bring up the ‘Add Account’ screen, where you can point Receiver towards the StoreFront server:
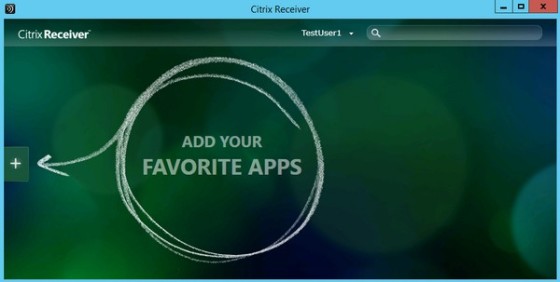
You should then be prompted for account details in order to authenticate. Once connected you should be able to start adding the applications that have been made available:
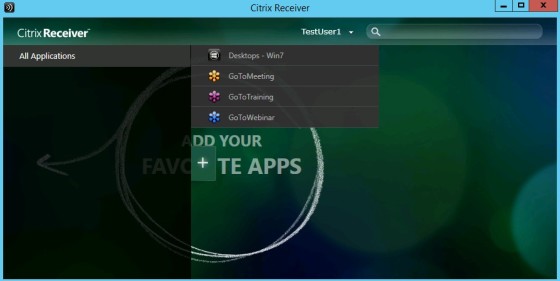
Clicking the available apps will add them to the main window, from where they can be launched:
If you’ve been following these XenDesktop 7.5 posts then this one concludes the set up of a simple VDI environment. Look out for up-coming posts on publishing applications (for those familiar with XenApp), a closer look at some of the XenDeskop features, and provisioning services.

